Installing Plugins on a Minecraft Server
-Last updated Sunday, February 10, 2013
Minecraft is probably the most popular indie game ever. It has taken the internet by storm, and can now boast over ten millions users. One of the best parts of Minecraft is it's multiplayer capabilities. Using a server, you can play with as many people as you like. If you've played online, you've surely noticed that some server have additional options, such as teleportation or money. This is all possible due to plugins. So how do you install these plugins?
*NOTE: before you start, make sure you have an up-to-date version of Java installed on your computer. Otherwise, you can download it here: http://www.java.com/en/download/index.jsp
Install Bukkit Server
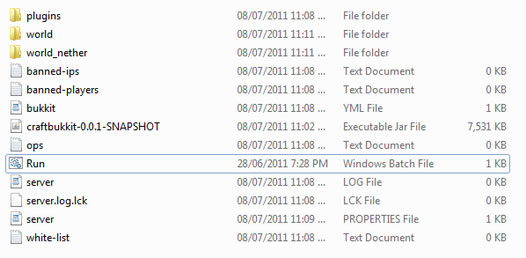
The single most important thing to remember when trying to install plugins on a minecraft server is that you cannot use the traditional server. Instead, you must download Bukkit (or rather: CraftBukkit), an open source variant of the official Minecraft server that supports plugins! Installing Bukkit is as easy as installing a normal server.
- Download CraftBukkit here.
- Copy the *.jar file you've just downloaded to a folder with a meaningful name, such as "Minecraft Server" or "Bukkit Server"
- Download the batch file below into this same folder (Right-click the button and select Save as...)
- Change the name of the *.jar file you've downloaded to "craftbukkit" (without the quotes).
Adding plugins
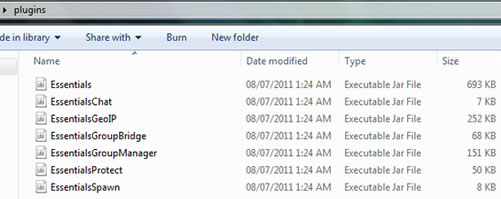
Notice the new "plugins" folder. Conveniently enough, that is where our plugins will be installed to. As an example, lets set up the Essentials plugin, which provides many basic features you way want as an admin.
- Download the latest version of Essntials from here.
- Once you've downloaded the "Essentials.zip" file, extract it to your "plugins" folder, which will now look like this:
Test the plugin
Ok, so now our plugin is installed. So, open up Minecraft and log into your server. Next, press T, to chat, type /help, and press enter. A list of commands available with the new plugin will appear.

You might notice that there are very few commands available. This is because your player currently doesn't have the permissions to access all of the functionality of the plugin. To gain full access to the plugin, there are two ways.
- OP yourself. This is the easiest way, and won't work with some plugins. To OP yourself, go to the server's windows (the black one with lost of text), and type: op, and there your player name. Ex: op Icosebyte.
- Install a permissions plugin, such as Group Manager. This is somewhat more complex, but it's definitely the way to go. Since installing and setting up Group Manager so long, I've decided to make a separate tutorial which you can find here.
Happy minecrafting!
-Icosebyte