Creating Awesome Animations with Midis
Midis are a great way to compose digital music. They're small, versatile and, with a decent instrument library, they can sound surprisingly realistic! Still, the place where midis shine most is in animation. Being like an actual score (instead of encoded sound, like other audio formats), midis can be analyzed by software to create stunning animations!
Below is an example video of what I'm going to show you in this article. For those interested, I composed the song using Sibelius 6.
The animation in-depth
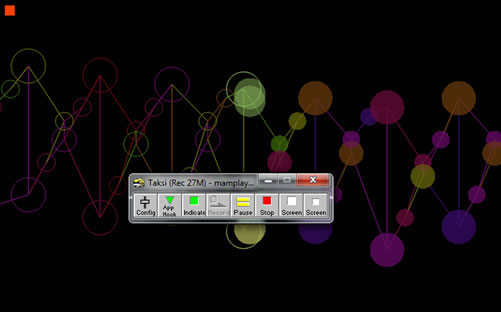
Ok, so hopefully, you've looked at the video and can't wait to make your own! As you've probably noticed, the animations follows the music perfectly. Each instrument actually has it's own "Bubble line", which goes up and down depending on the pitch, and has bigger bubbles for longer notes. Pretty neat huh?
What you will need
Before you can start your animation, you'll need a few thing:
- A Midi file, such as this one (Pachelbel's Canon).
- An audio rendition of the midi. Note that you will need either an audio file corresponding perfectly to the midi, or use the midi's audio itself. Otherwise, it will be a pain in the arse to synchronize the animation with the audio (believe me, I tried). For convenience, I made a *.mp3 file of Pachelbel's Canon using Sibelius.
- The MAM Player. This is the program the makes it all happen, it generates the actual animations with MIDI files.
- Taksi, the program that we will use to record the animations generated by MAM Player.
- The Lagarith Lossless Video Codec, the video codec that we will use with Taksi.
- A simple video editor (such as Windows Live Movie Maker).
Installing our programs
OK, so now, you'll need to download and install all the programs above. Notice that MAM Player doesn't need to be installed, but just unzipped. Once you're finished, you need to set up Taksi to use the Lagarith Codec.
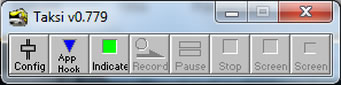
So open up Taksi, and click on the config button.
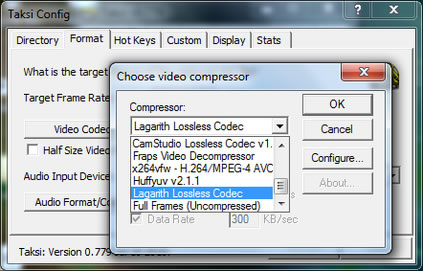
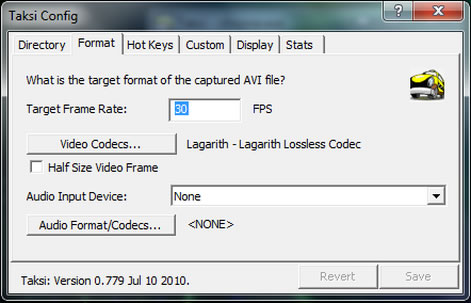
Select the "Format" tab, and click on "Video Codec". A dialog box will pop up with a list of installed codecs. Select the Lagarith Lossless Codec.
Finally, change the Frame Rate to something smoother, like 30.
Recording the animation
Open Taksi and then MAM Player. You should now see a green square in the upper left corner of the MAM Player window. This means that Taksi is ready to record. So click on the record button, and launch the animation!
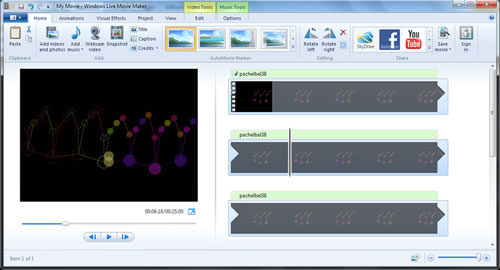
Putting it all together
If you go to the C:\Tmp folder, you show now see the video you've just recorded. If not, then review the steps above. So now there's only one thing left to do: assembling the video. So open up your video editor, and the clip you've recorded and the audio file. you'll need to trim your video to put it in sync with the audio, but believe me, it's worth it!
Conclusion
That's it! I hope you've appreciated this article and enjoy the animations. I would like to give a huge thanks to the creator of the MAM Player; it truly is a wonderful program. I also thank the coders of Taksi and of the Lagarith Codec, for giving freely to us.
Feel free to leave a comment below!